


Updated: August 24, 2026 | Reading time: approx. 6 minutes | Your expert guide for Ubiquiti airMAX 5AC
This guide applies to all 5AC devices from Ubiquiti, including: NanoBeam 5AC, PowerBeam 5AC, 5AC loco, and NanoStation 5AC.
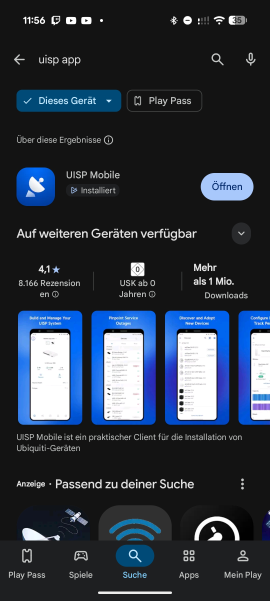
First, install and launch the UISP Mobile App by Ubiquiti Inc. on your smartphone.
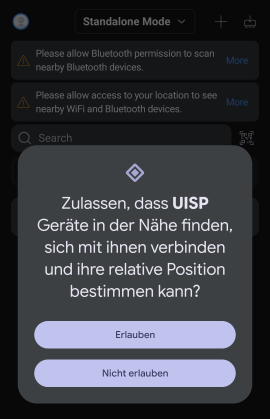
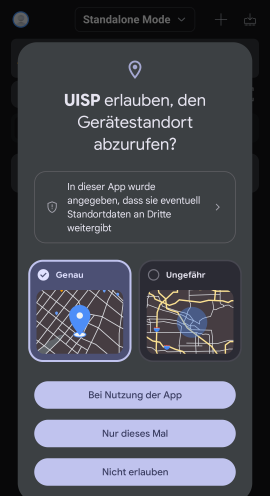
Upon initial launch, you will be prompted to grant permissions. You must allow Location and Bluetooth access so the app can automatically detect nearby devices.
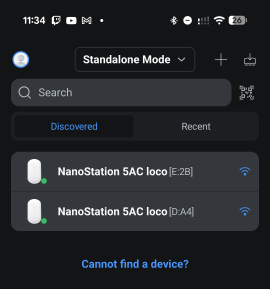
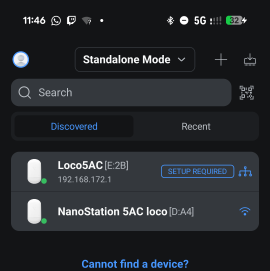
Now, connect the NanoStations to power using the 24V PoE injector and wait briefly. The NanoStations will now appear in the UISP App. The square brackets contain the last 3 digits of the serial number, which you can also find on the device\'s sticker or packaging.
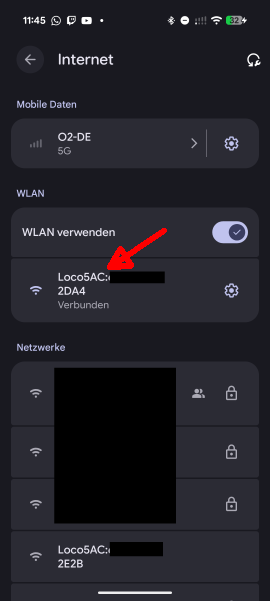
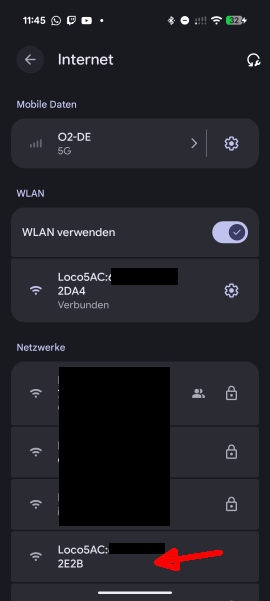
Because clicking and connecting directly through the app can sometimes be tricky, my recommendation is to connect directly to the open management WiFi of the NanoStation via your phone\'s settings. Go to your WiFi settings and select the open Loco5AC network.
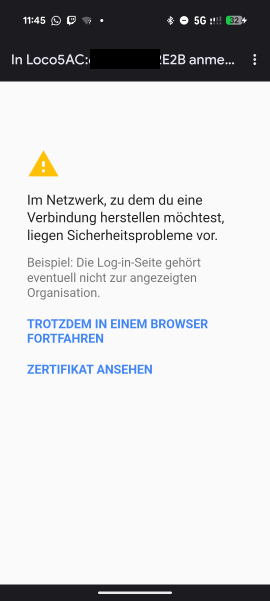
A browser window (Captive Portal) might pop up automatically. Simply close this window and return to the UISP App.
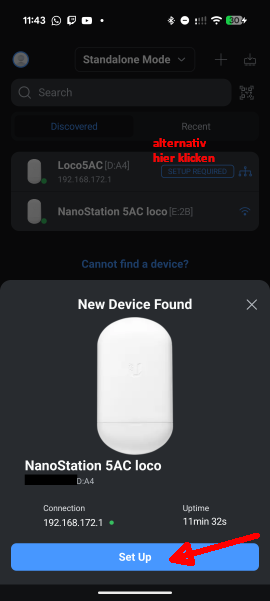
If a screen like the one pictured here opens, tap "Set Up". Alternatively, you can click on "Setup Required" directly in the device list.
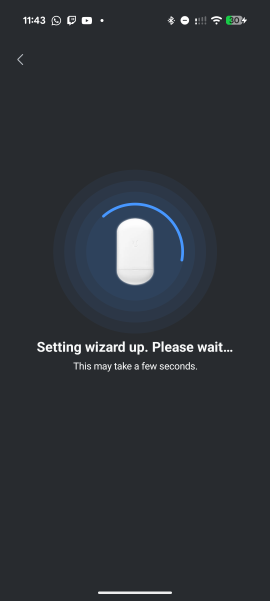
Wait a short moment while the app loads.
Since this is your first device, please select the option "Create new Access Point".
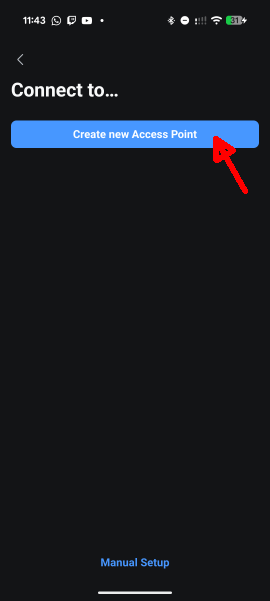
Now select the Country in which the devices will be operated and tap Next.

You can leave the default parameters as they are here. Tap Apply.
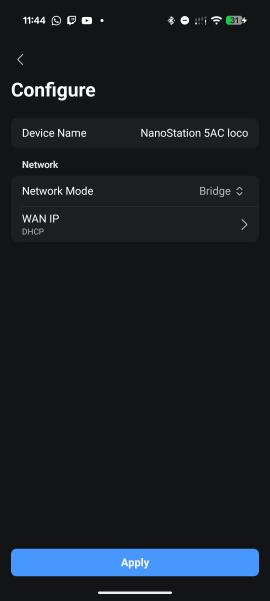
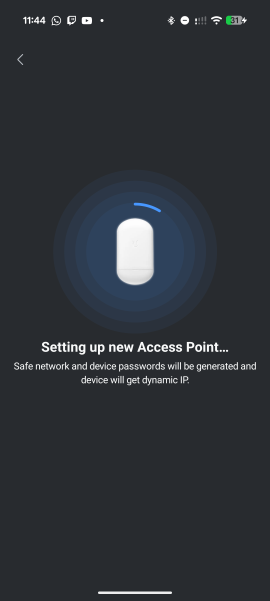
The app will now apply the settings. Wait a brief moment.
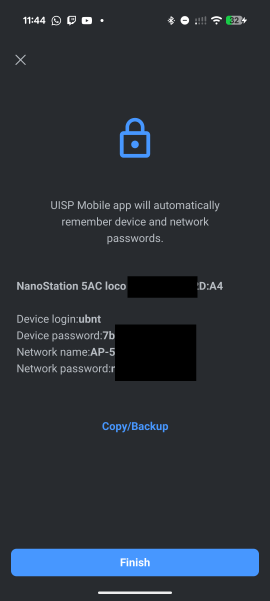
Now you will see an overview of the passwords generated by the app. Although you usually don\'t need them for daily operation, saving them or taking a screenshot doesn\'t hurt. Finally, tap Finish.
Important: Keep the fully configured device powered on! Now return to your phone\'s WiFi settings and connect to the open WiFi of the second NanoStation.
Launch the app again and tap on SETUP REQUIRED for the unconfigured NanoStation.
The app will now scan the environment – wait briefly.
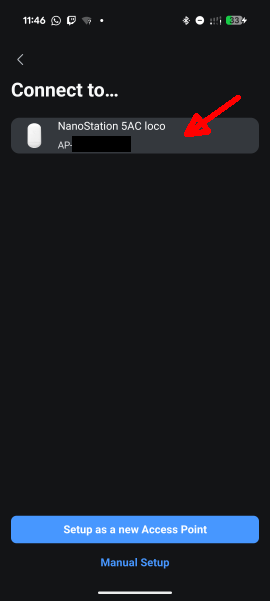
Now the device you already configured in the first step will appear as an available AP (Access Point). Please tap on it.
Tip: If the AP doesn\'t show up, ensure that the first NanoStation is still receiving power via its 24V PoE injector.
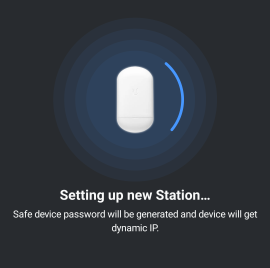
Wait a moment. The app will now transmit the pairing data. All settings will be applied completely automatically.
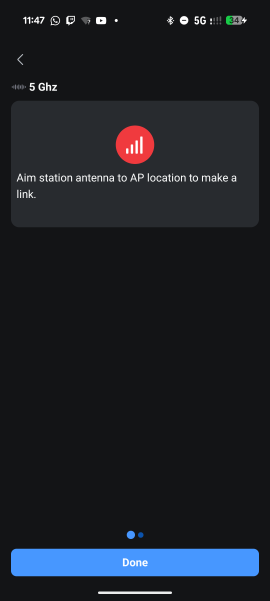
Tap Done. The main configuration is now complete.
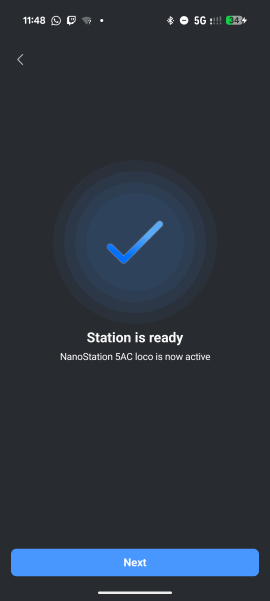
On the next screen, tap Next.
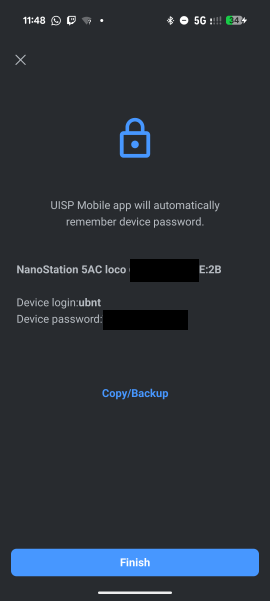
The set password overview appears again. Saving it doesn\'t hurt here either. Finish the setup by tapping Finish.
If both devices are successfully connected, you will now see a live dashboard displaying connection strength and data throughput in the app.
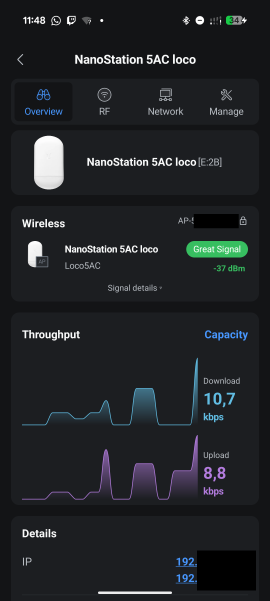
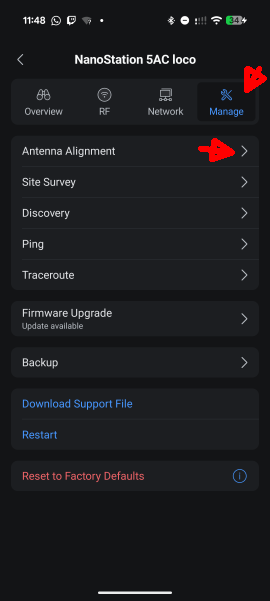
The alignment tool, which helps you optimally align the antennas outdoors, can be found in the bottom menu under Manage -> Antenna Alignment.
In this example, the NanoStations are lying right next to each other on a desk, which is why the signal is extremely strong. The rule is: The closer the value is to 0, the stronger the signal. Values between -50 dBm and -60 dBm are optimal for longer distances. Around -100 dBm, the connection will drop and become problematic.
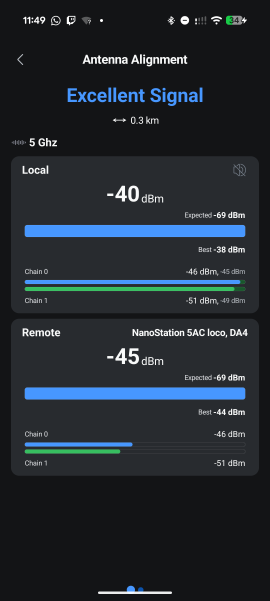
Once you hit the perfect value: Tighten the antennas – You are done!
FAQ: Ubiquiti 5AC Setup via UISP App
Do I need a computer to configure Ubiquiti 5AC devices?
No. Thanks to the built-in 2.4 GHz management radio in all airMAX 5AC hardware, you can complete the entire initial configuration wirelessly using the UISP Mobile App on your smartphone.
What is the ideal signal level (dBm) for a PtP link?
A signal level between -50 dBm and -60 dBm is considered ideal. Values worse than -70 dBm lead to reduced throughput, while values around -100 dBm will cause the link to drop completely.
Why did the NanoStation management WiFi disappear after a few minutes?
For security reasons, Ubiquiti automatically disables the temporary 2.4 GHz management radio approximately 15 minutes after powering on the device. Simply power-cycle the antenna briefly by unplugging the PoE injector to reactivate it.