


Updated: May 17, 2026 | Reading time: approx. 3 minutes
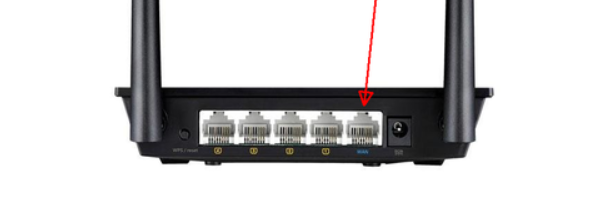
It is best to connect the WAN port (next to the power socket) directly to your network. If not done, the menu might ask for undocumented settings.
1. WiFi Connection and Login
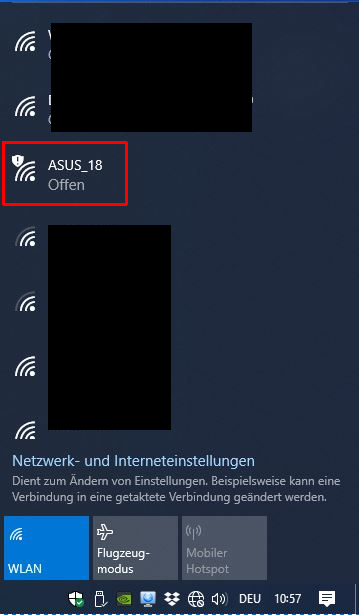
Connect to the open WiFi network of the ASUS device (name begins with ASUS_).
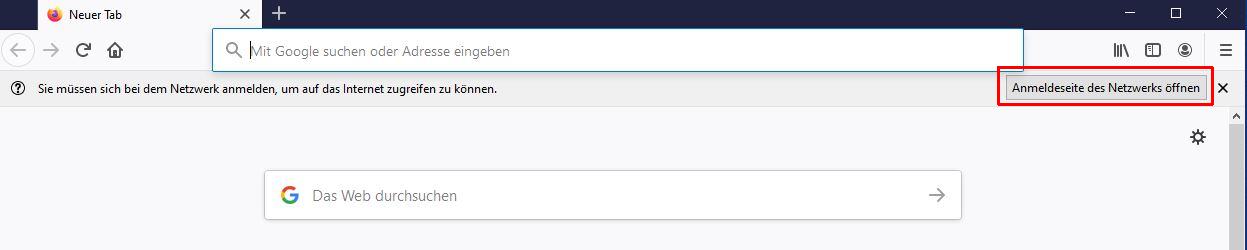
Open a browser. You will be redirected to a login page (or manually type router.asus.com).
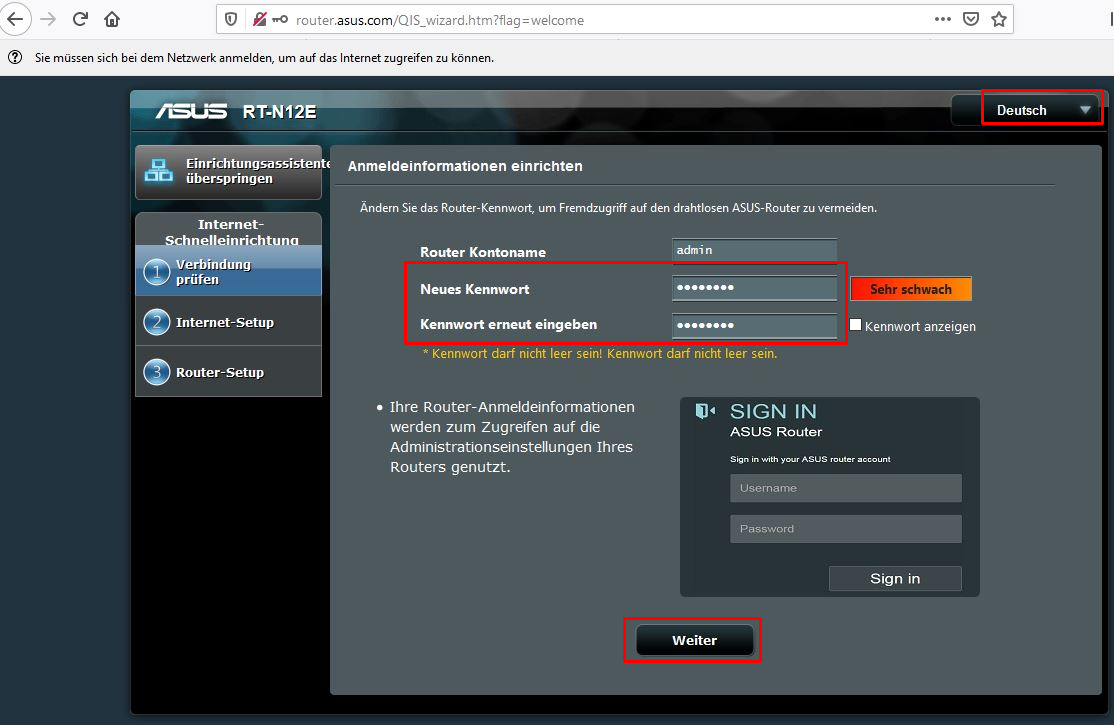
Set an admin password for the interface and click Next.
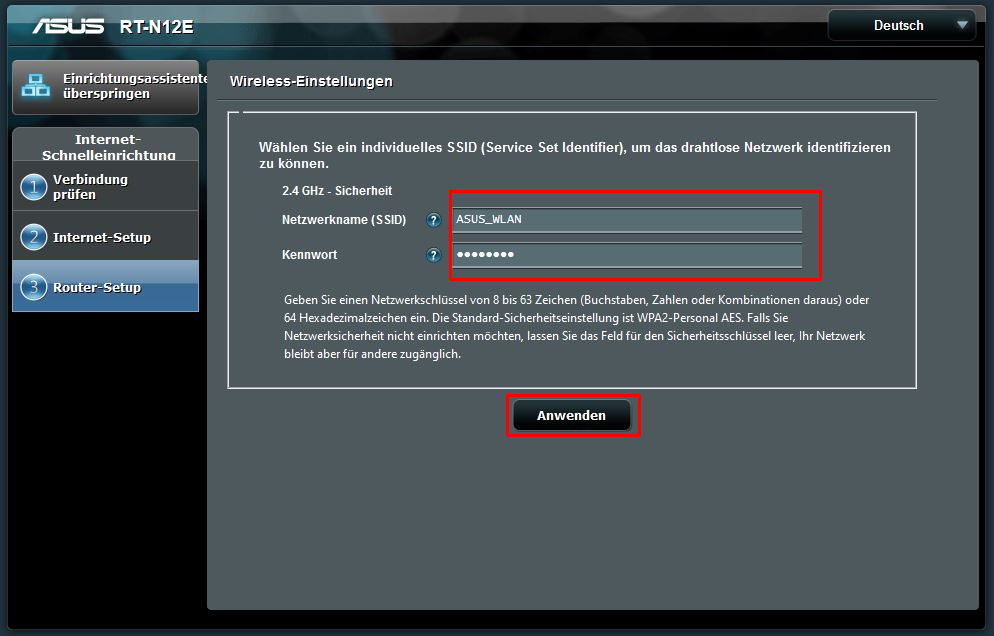
2. Configure WiFi (SSID & Password)
Enter your desired WiFi name under SSID and a secure WiFi password under Password.
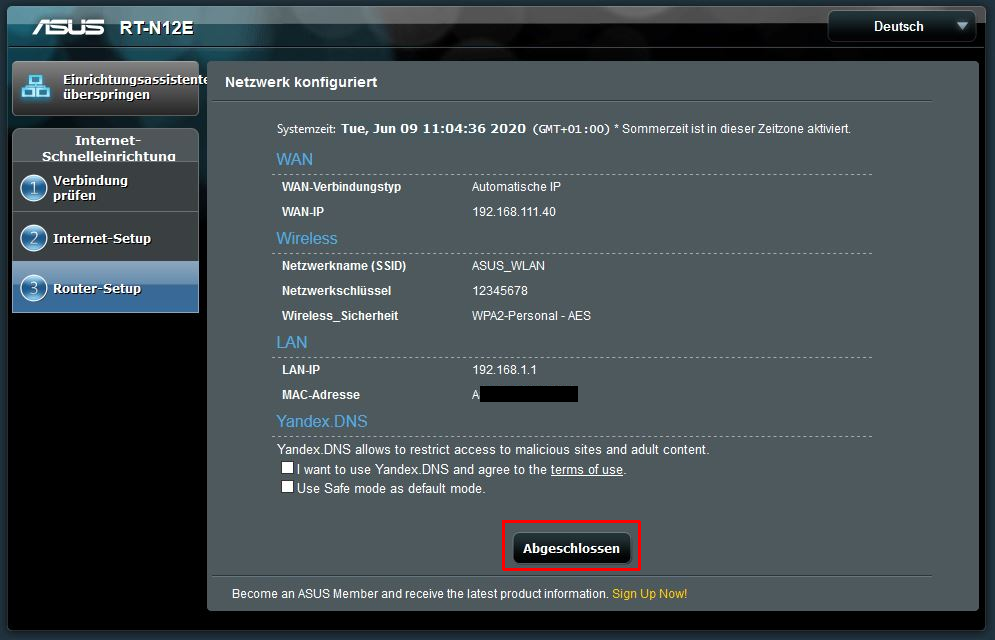
Confirm the overview by clicking Finish.
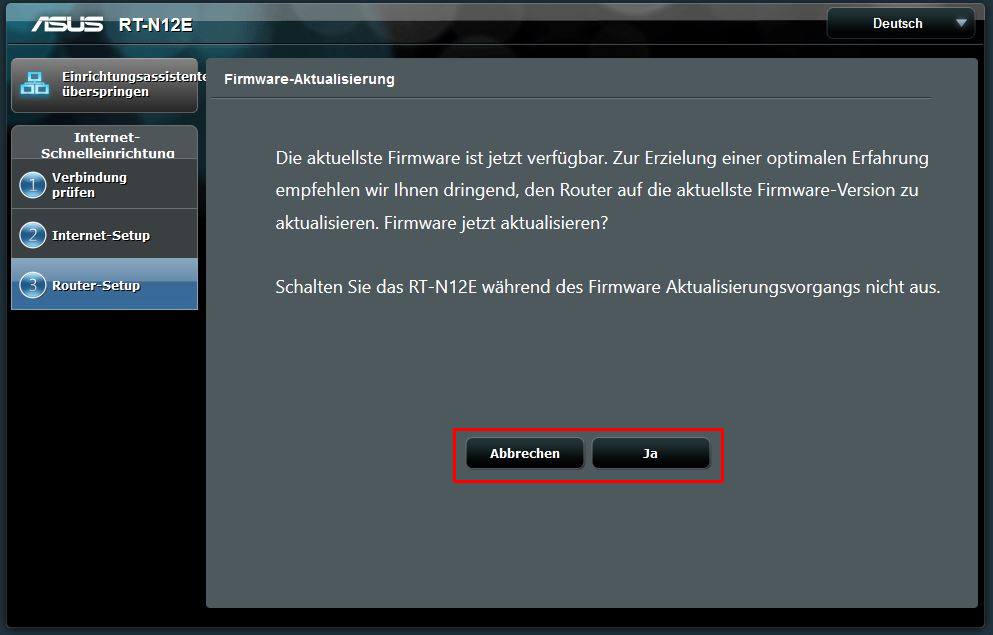
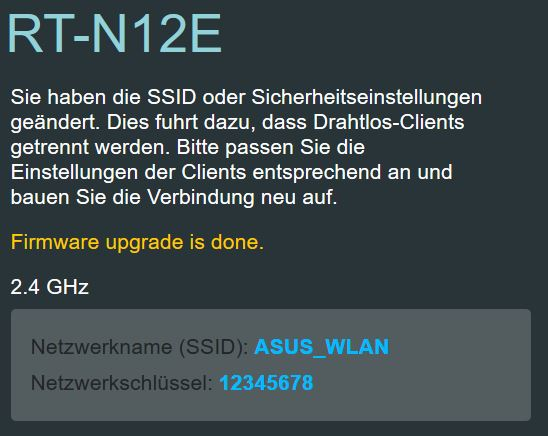
3. Firmware Update and Completion
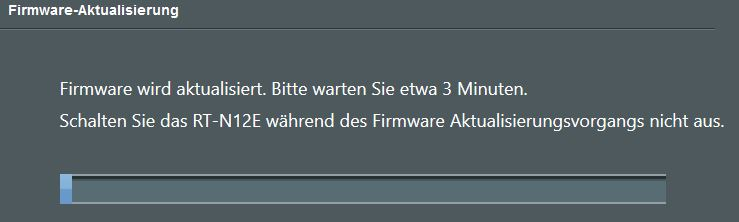
If prompted for a firmware update, click Yes. Do not disconnect the power during the update!
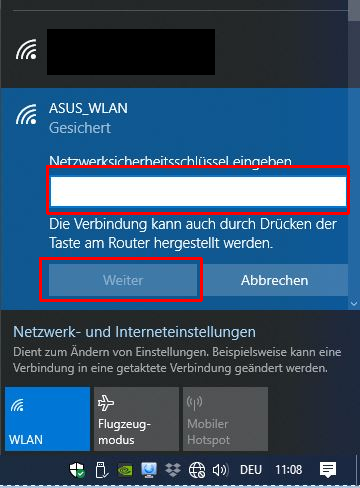
Finally, your new WiFi details will be displayed. Connect using your new password.
FAQ: ASUS RT-N12E
What if router.asus.com doesn’t open?
Ensure you are connected to the ASUS WiFi. Alternatively, type the default IP (usually 192.168.1.1) manually into your browser.