


Updated: May 17, 2026 | Reading time: approx. 6 minutes
This is the guide to using one NanoStation, NanoBeam, NanoBridge, Bullet, or PicoStation to capture a distant WiFi signal (Station/Client Mode).
1. Preparation and Static IP
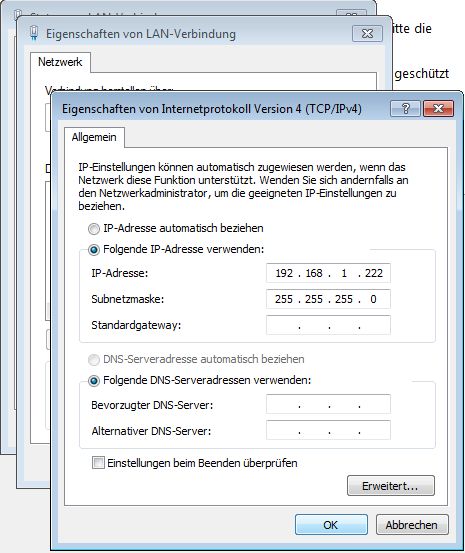
Connect the Ubiquiti device to your PC via Ethernet cable. To access the device (default IP is 192.168.1.20), you must temporarily assign a static IP address to your PC (e.g., 192.168.1.10).

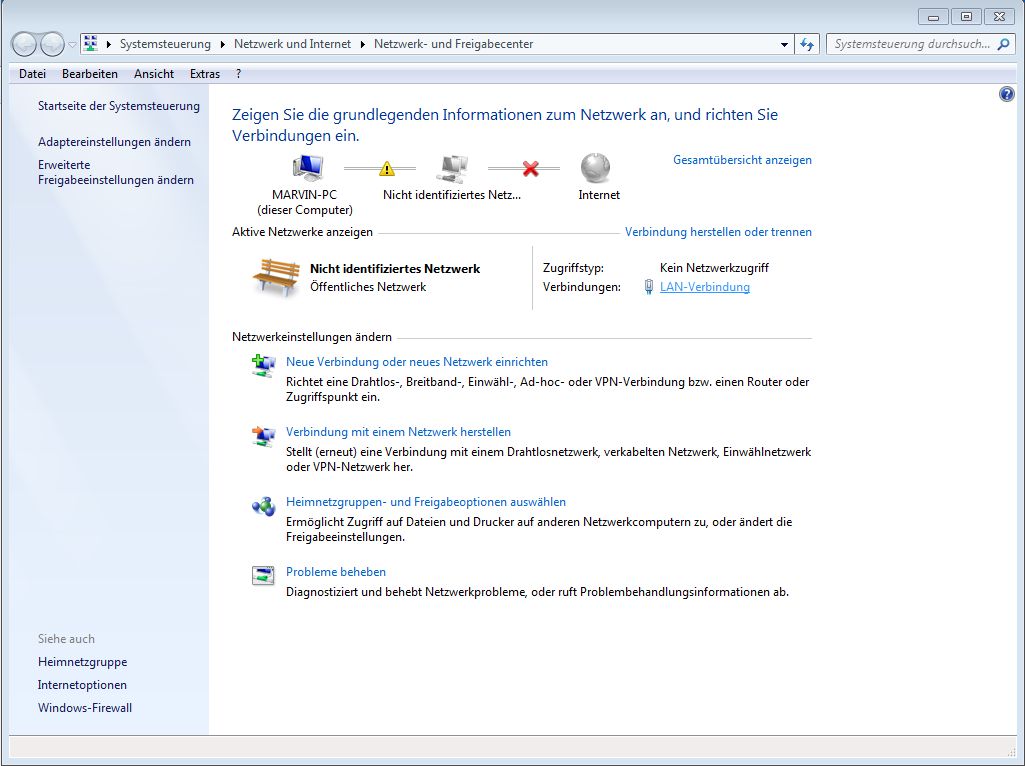
Open the Network and Sharing Center and click on your LAN Connection.
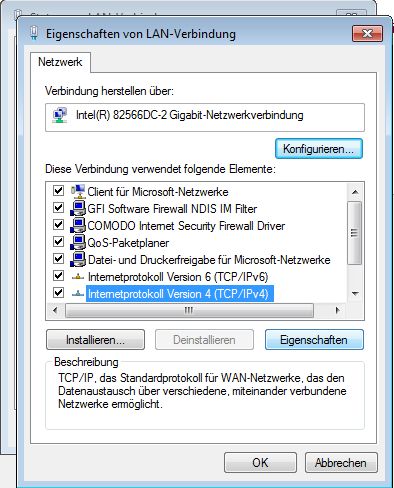
Click Properties.
Select Internet Protocol Version 4.
Enter the static IP details and click OK.
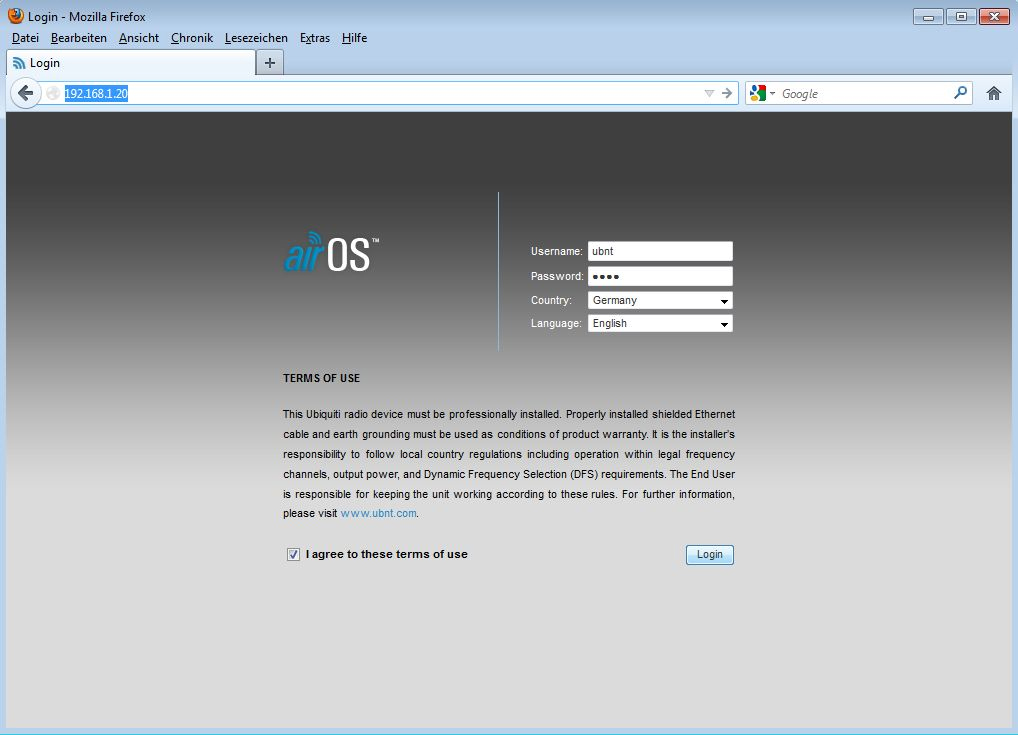
2. Accessing the Web Interface
Open 192.168.1.20 in your browser. Log in using ubnt and ubnt.
3. Wireless Configuration
Go to the Wireless tab. Set the Wireless Mode to Station (without WDS). Click Select next to SSID.
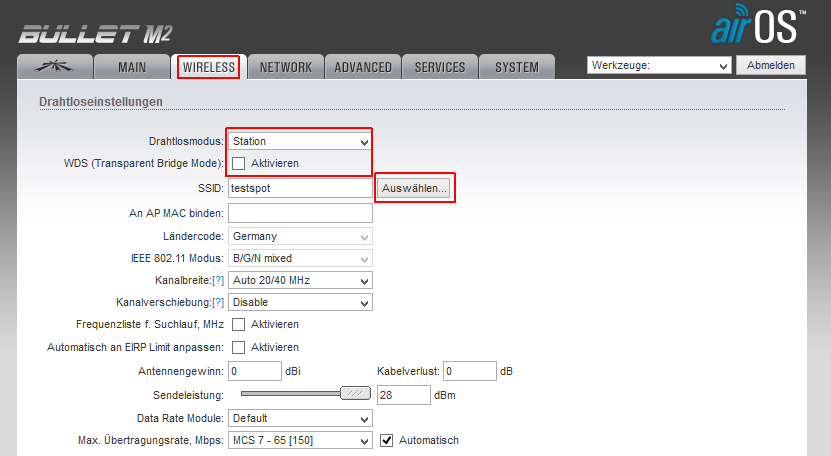
Choose the target network you want to connect to.

Enter the WiFi password and click Apply.
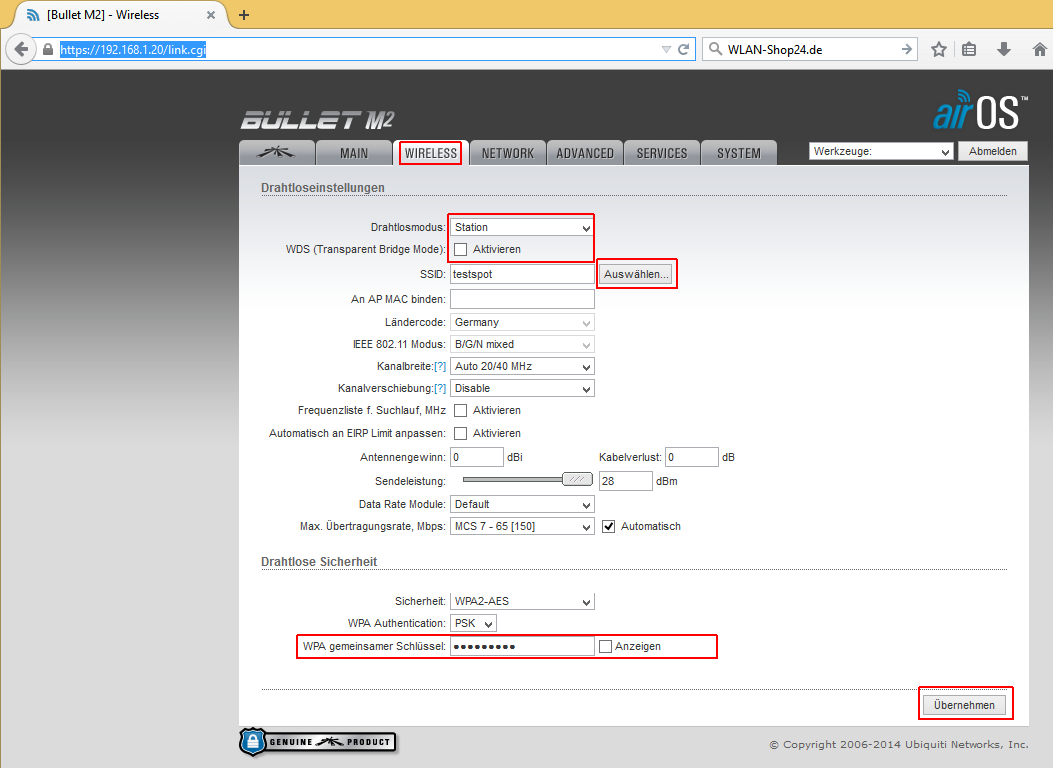
Confirm the changes.

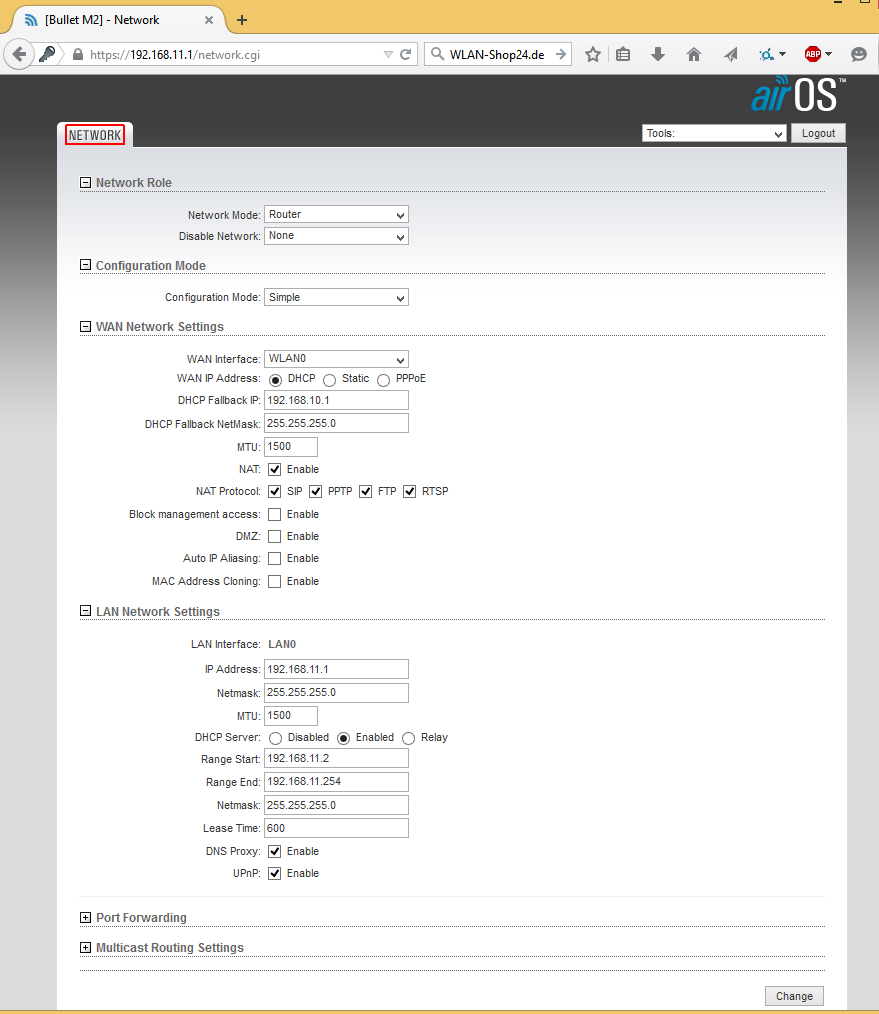
4. Network Configuration
Go to the Network tab. If you want to avoid IP conflicts, change the device’s IP address to something like 192.168.11.1.
Remember to set your PC back to "Obtain IP address automatically" when done.
FAQ: Ubiquiti Client Mode
Why can’t I access 192.168.1.20 after saving?
If you changed the IP address in the final step to avoid network conflicts, the device is now only accessible via the new IP address.