


Updated: May 17, 2026 | Reading time: approx. 5 minutes | Your expert guide to Teltonika
In this illustrated guide, we show you how to perform the initial setup for models in the Teltonika RUTX series (e.g., RUTX11) and the RUT900 series (RUT950, RUT955).
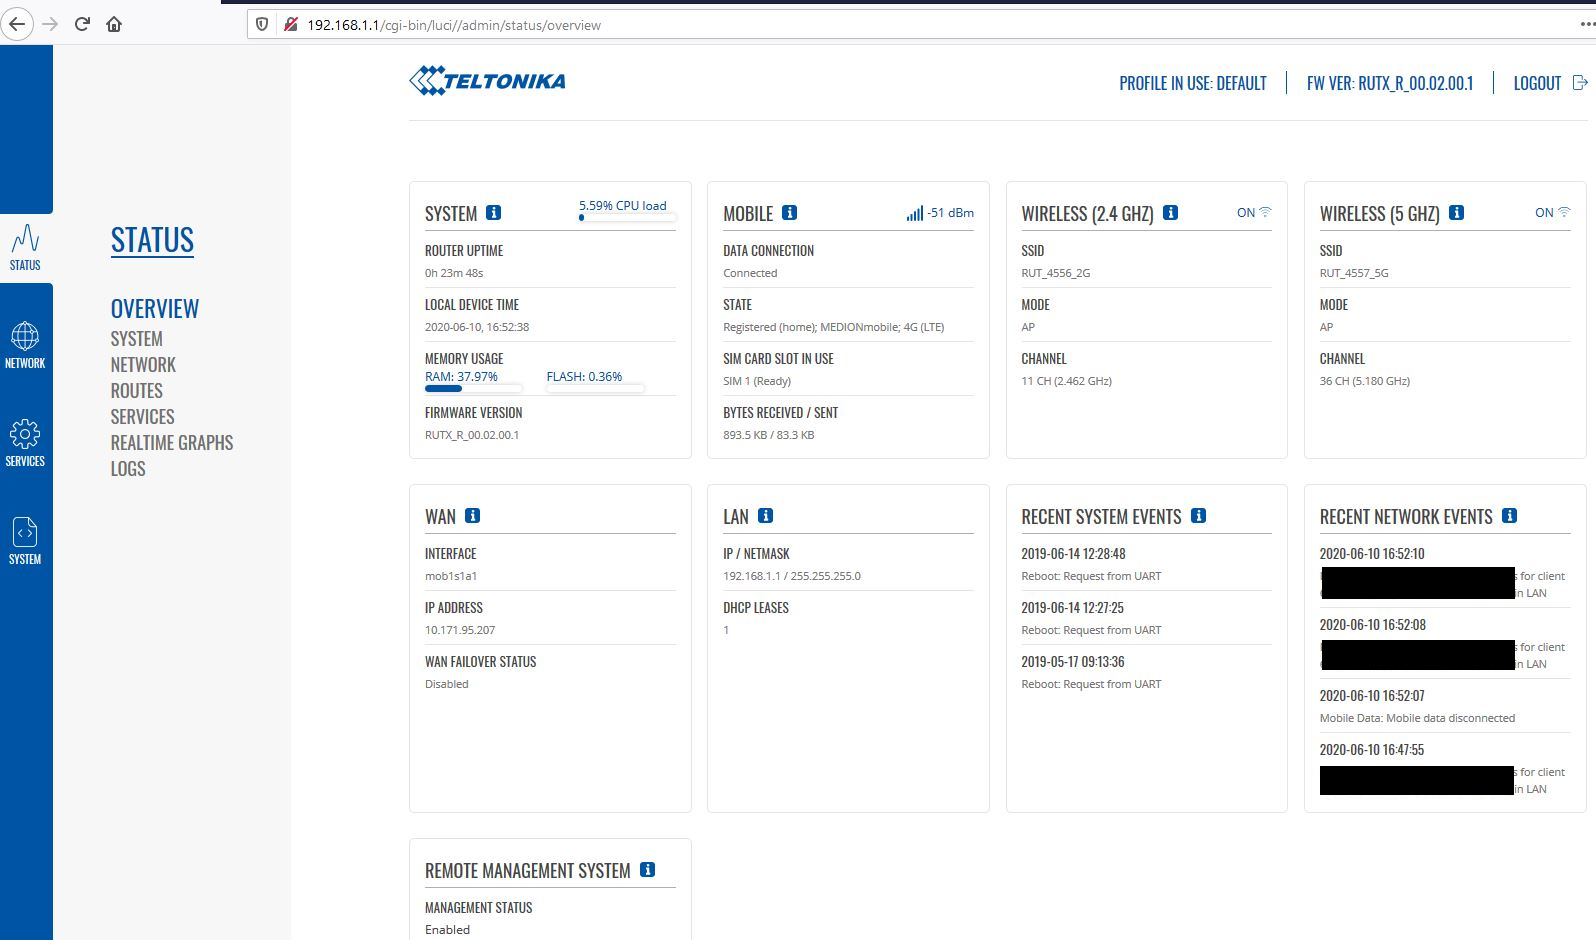
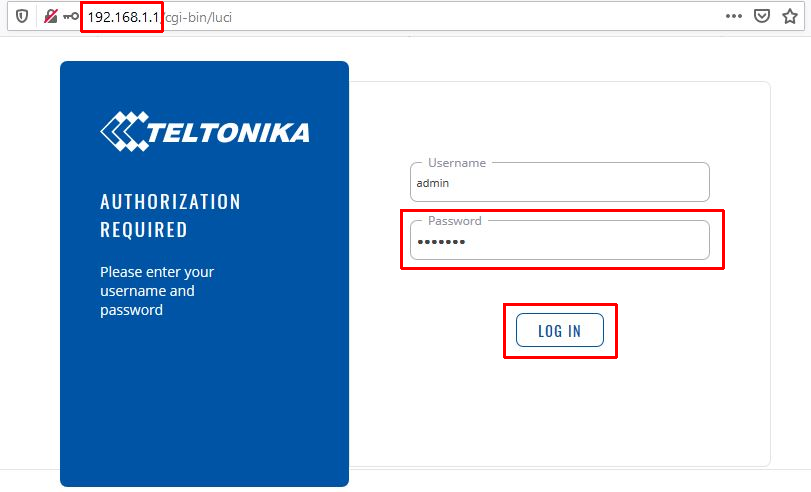
1. Accessing the Web Interface
Connect your PC to the router via a LAN cable. Open your browser and navigate to 192.168.1.1.

The default username is admin, and the default password is admin01. Click Log In.

2. The Setup Wizard (Quick Setup)
For security reasons, the router will force you to set a new admin password. Confirm with Submit.

Timezone: Select your time zone.
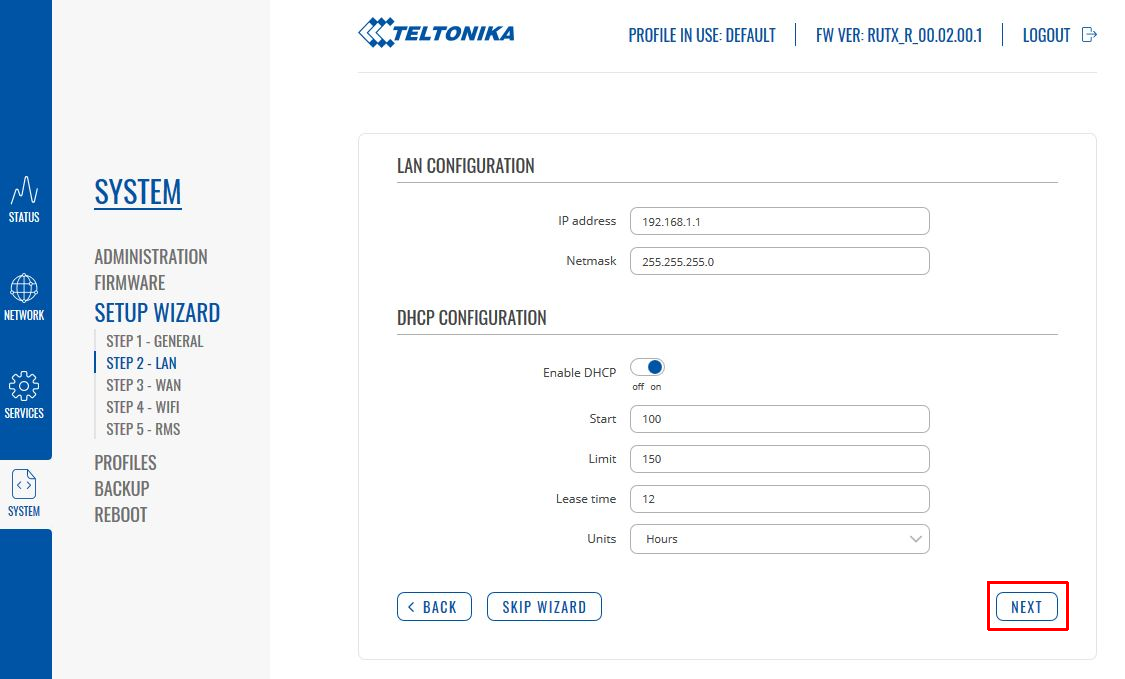
LAN Configuration: Can usually remain unchanged.
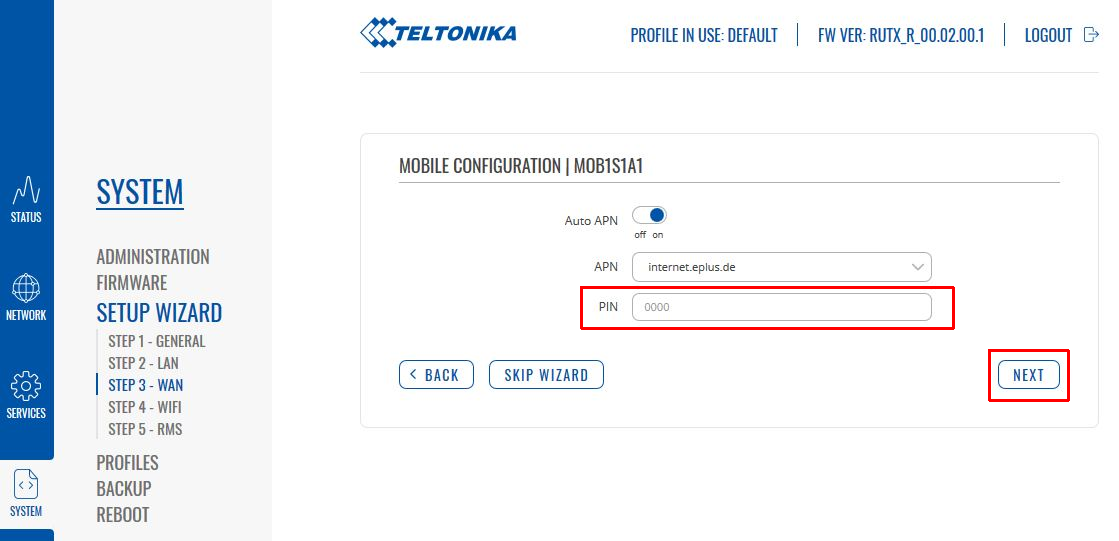
Mobile Configuration: Enter your SIM PIN if necessary. Keep "Auto APN" enabled.
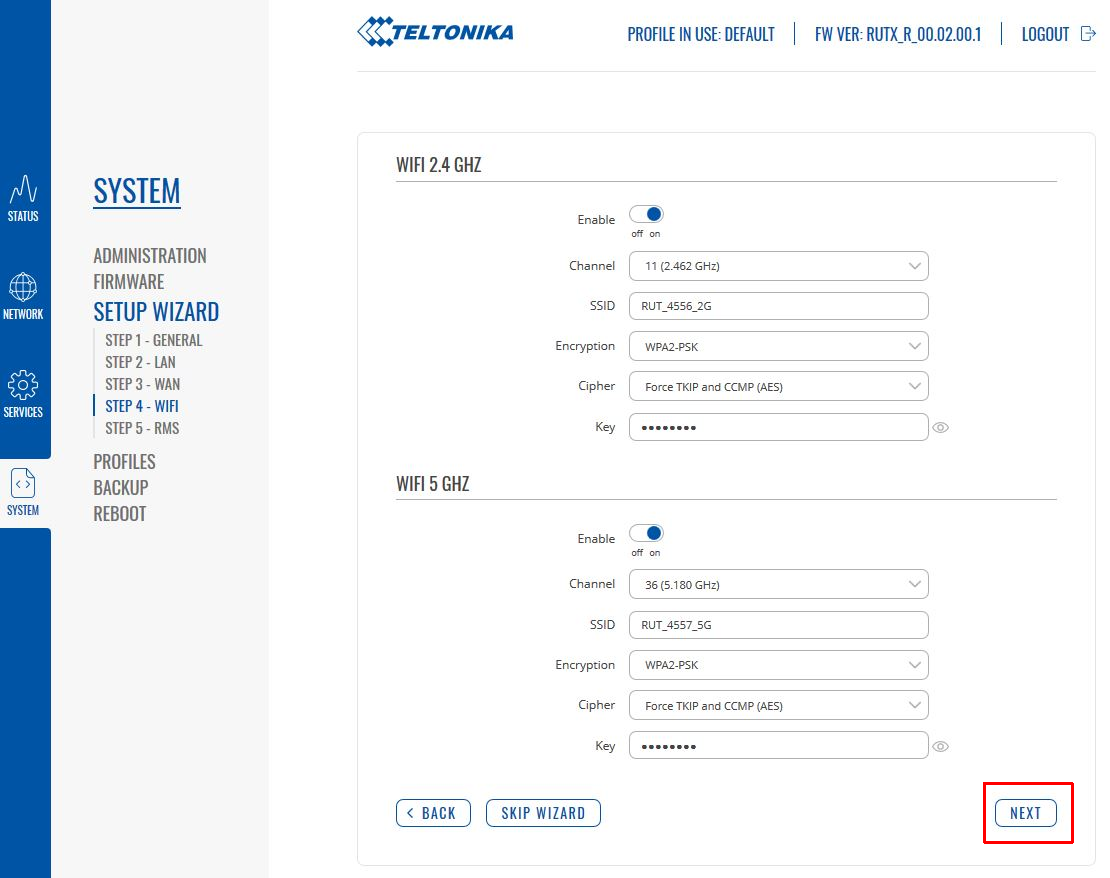
Wireless: Customize your WiFi name (SSID) and password.
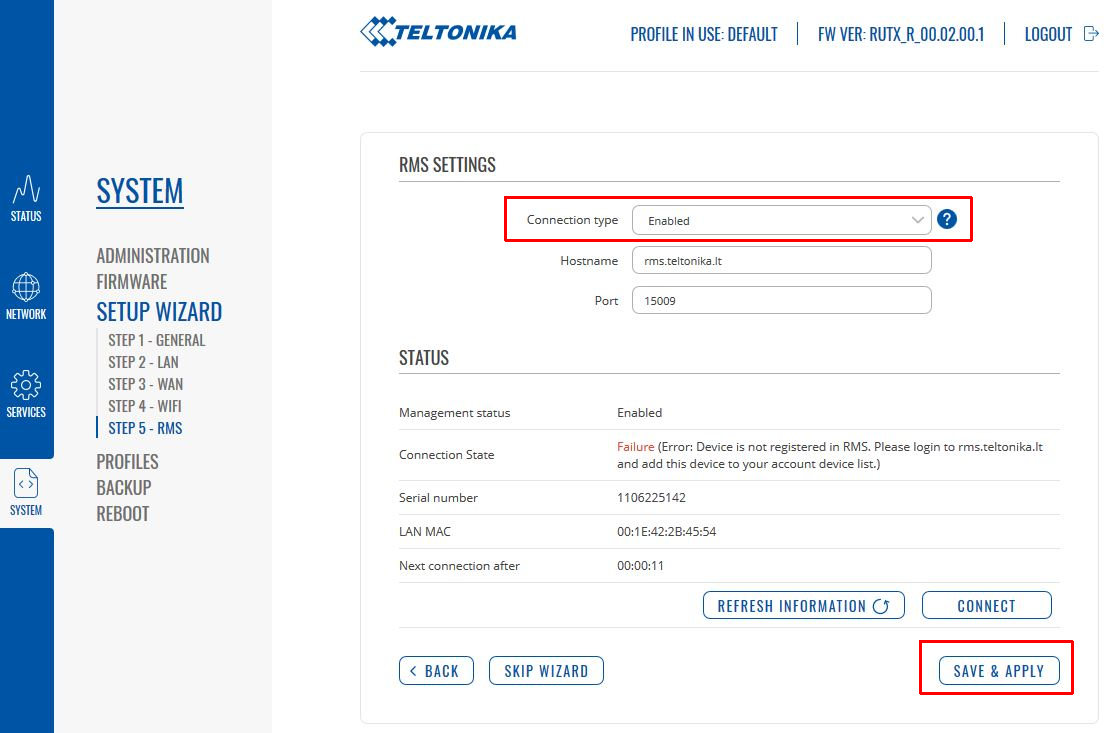
Save with SAVE & APPLY.
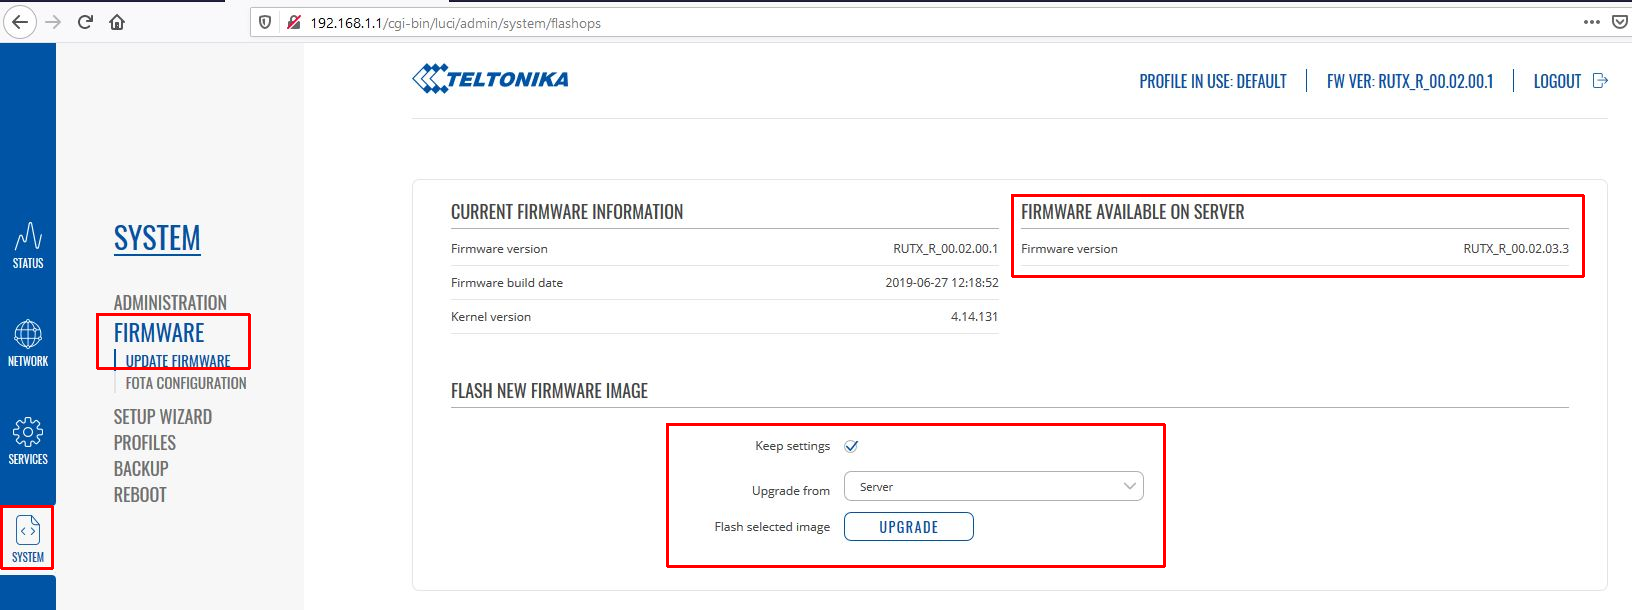
3. Firmware Update
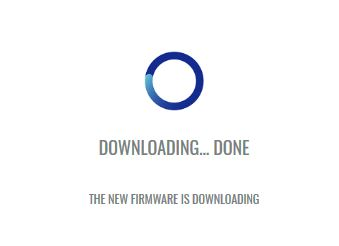
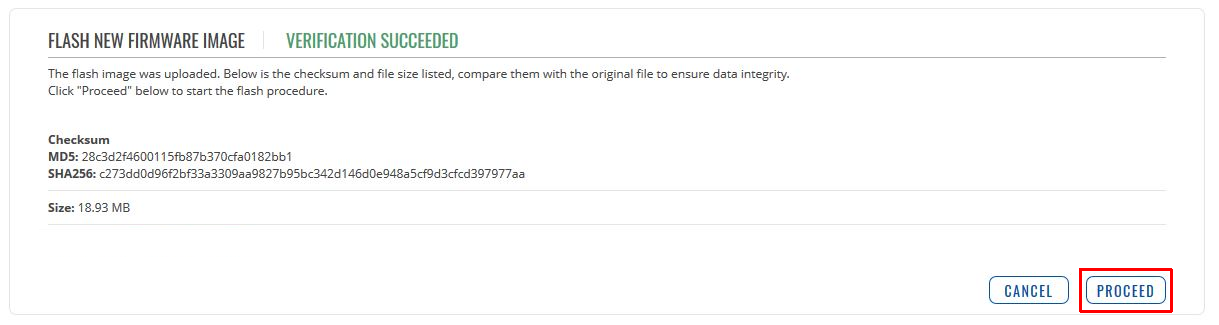
Go to SYSTEM -> FIRMWARE -> UPDATE FIRMWARE. Click Upgrade if a new version is available.
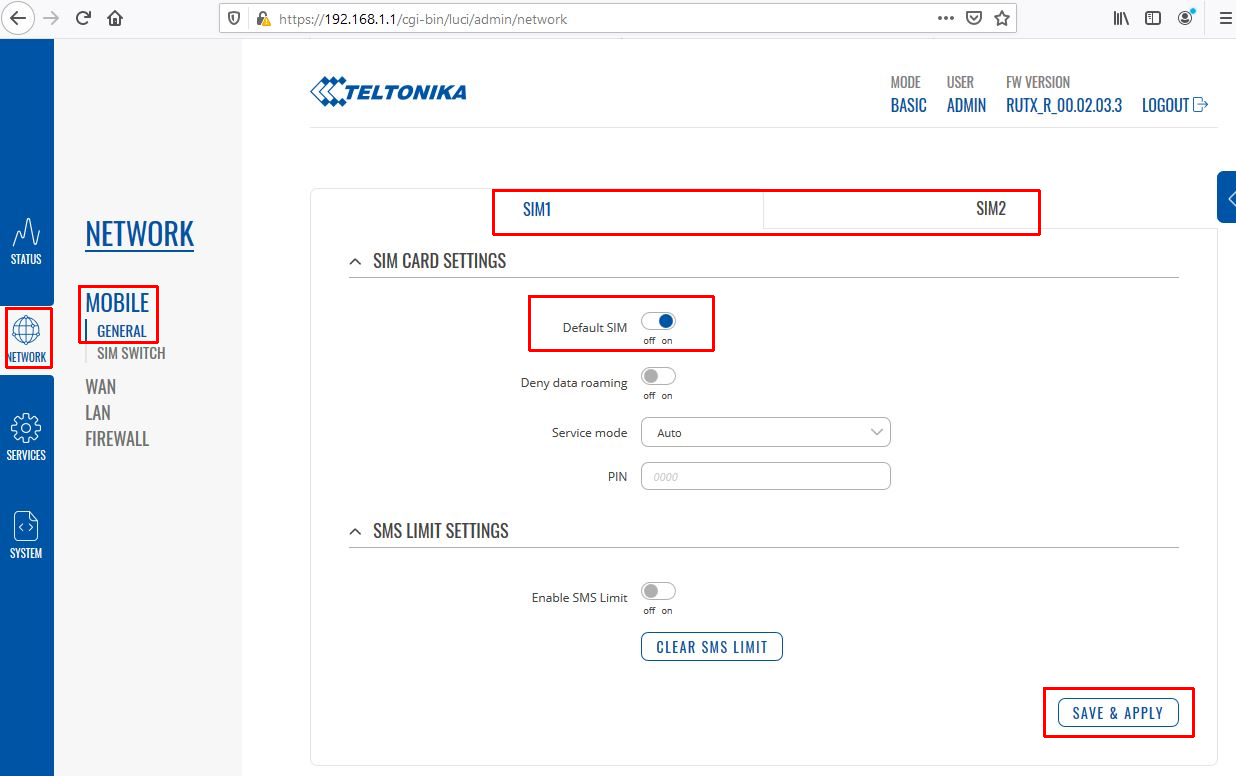
4. Using Two SIM Cards (Failover)
Navigate to NETWORK -> MOBILE -> GENERAL.
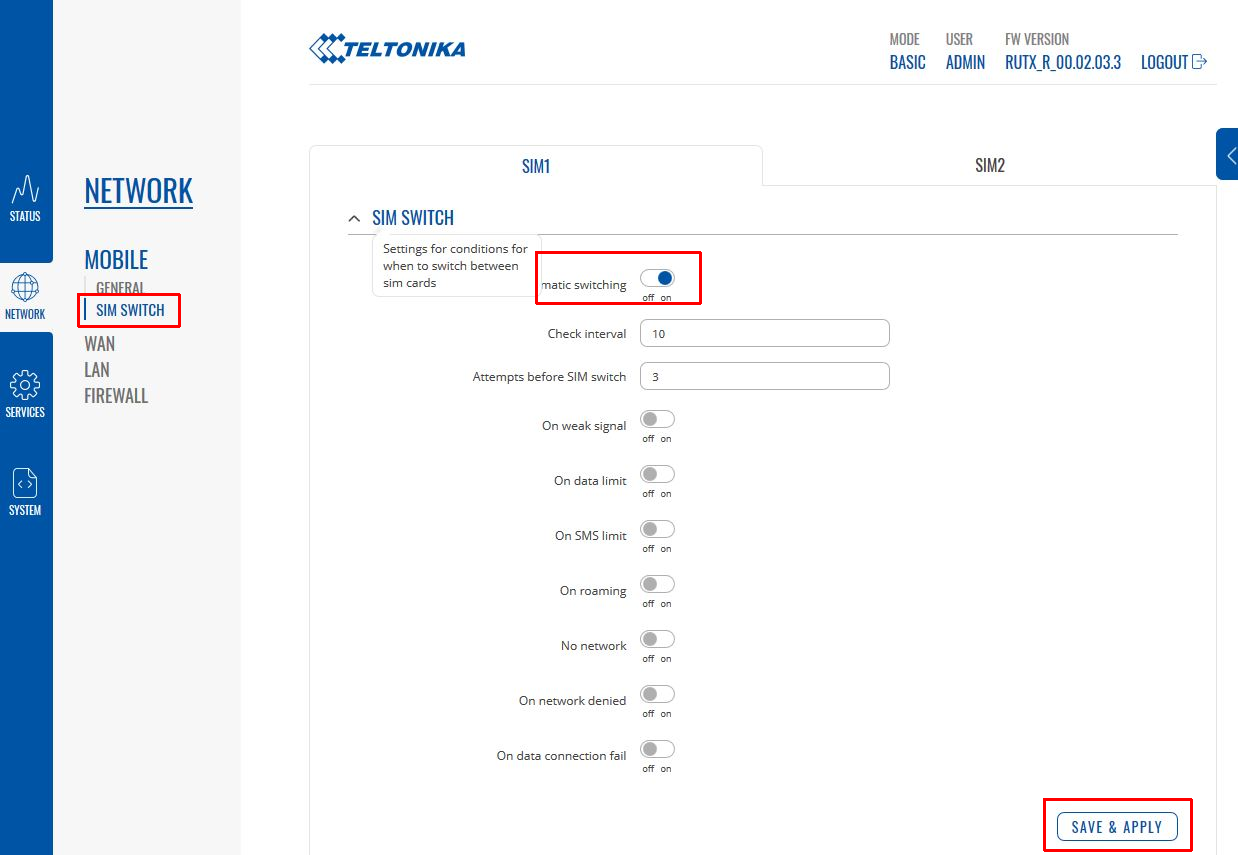
Go to NETWORK -> MOBILE -> SIM SWITCH to enable automatic switching rules.
FAQ: Teltonika RUTX Series
Can I use both SIM cards at the same time?
No, only one SIM card can be actively connected to the internet at a time. The second card serves as a failover backup.