


Updated: May 17, 2026 | Reading time: approx. 3 minutes
Below, we provide a step-by-step illustrated guide for installing and configuring a Teltonika RUT500 as a UMTS/3G router.
1. Preparation and Login
Connect the RUT500 to your computer using a network cable. Disconnect your computer from any other internet source to avoid conflicts. Open a browser and enter 192.168.1.1.
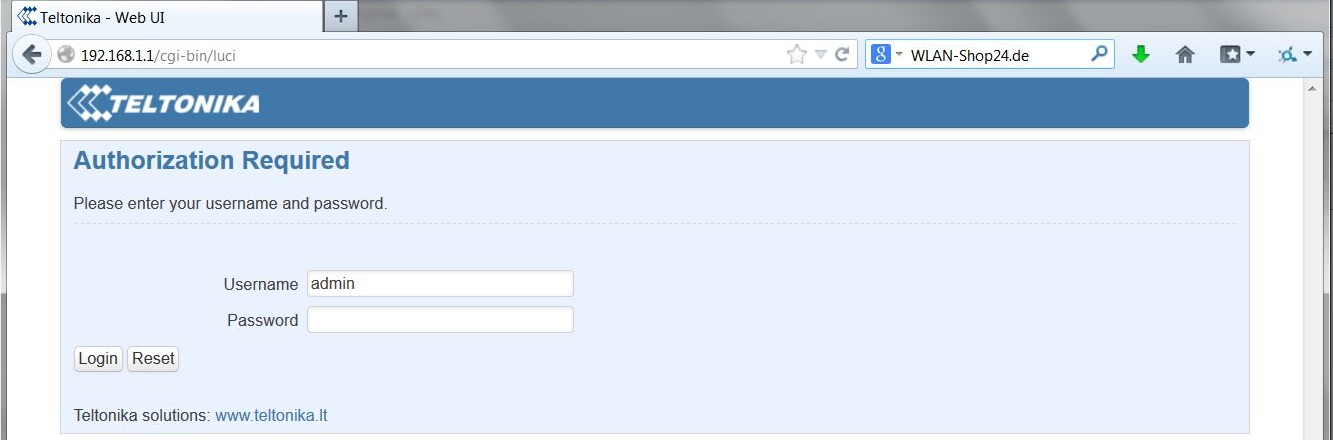
Log in with the default credentials (Username: admin, Password: admin01) and click Login.
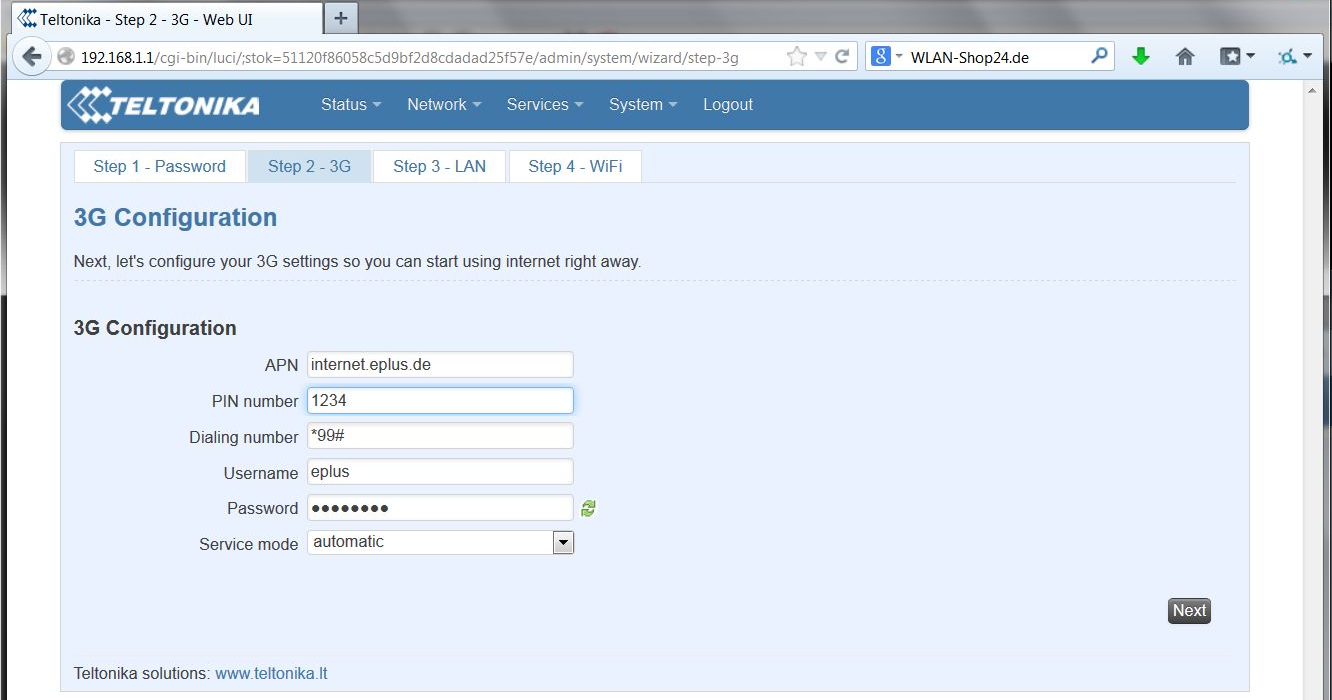
2. Configuring the SIM Card (APN)
Enter the data for your SIM card (APN, PIN, Dialing number: *99#). Click Next to proceed.
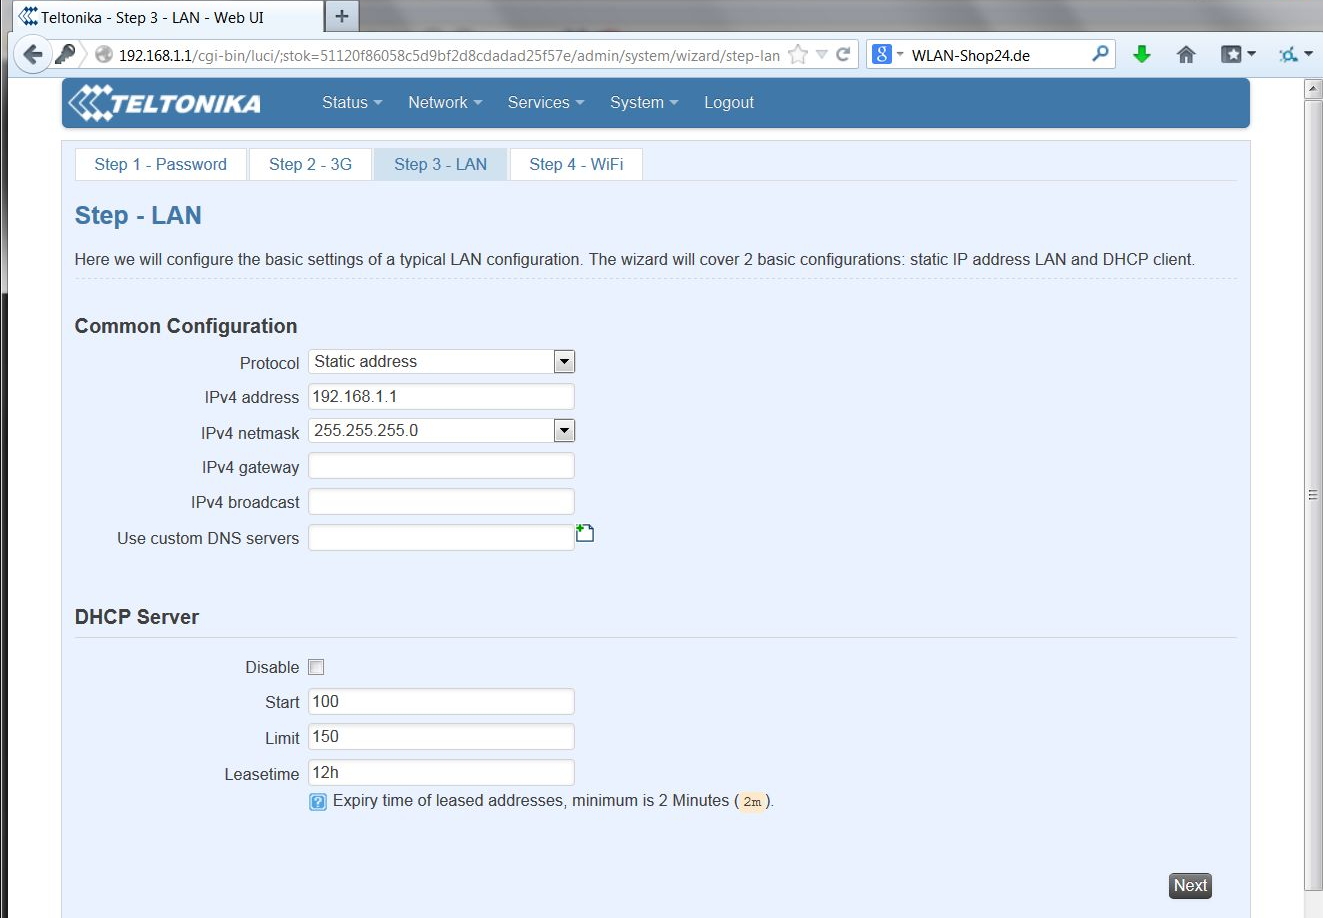
You can usually leave the network address unchanged. Click Next.
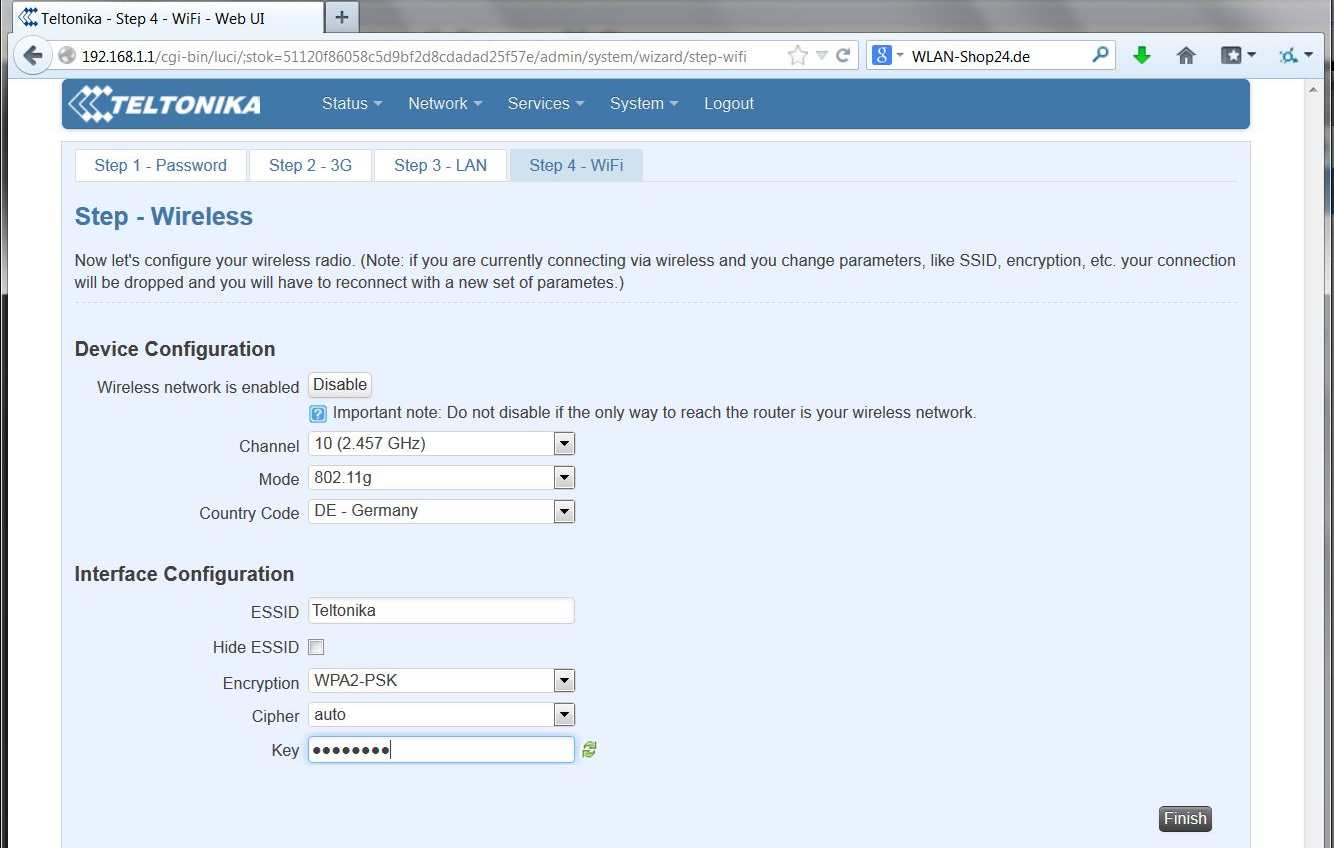
3. WiFi Setup
In the ESSID field, define the WiFi network name. We strongly recommend using WPA2-PSK. Enter your desired password in the Key field and click Finish.
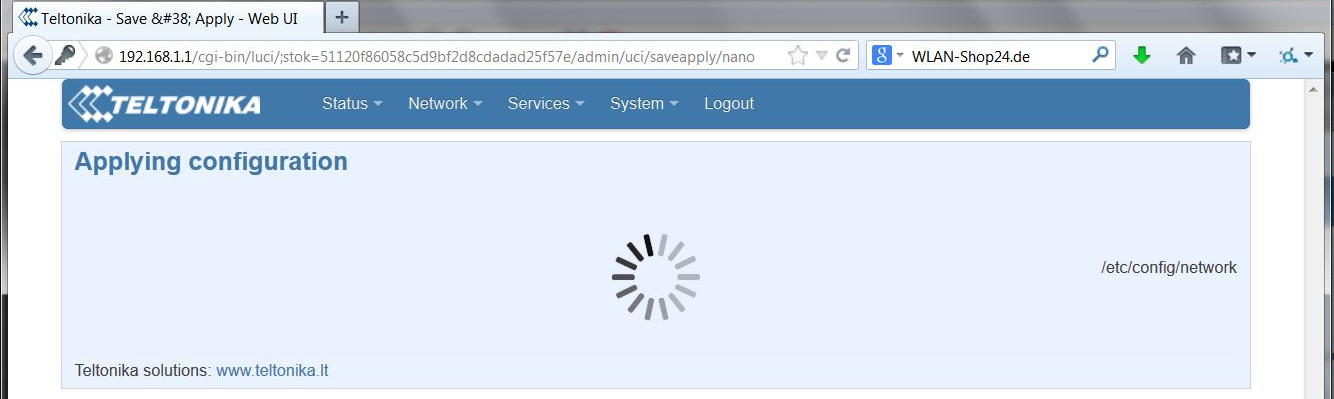
The device will now save the settings.
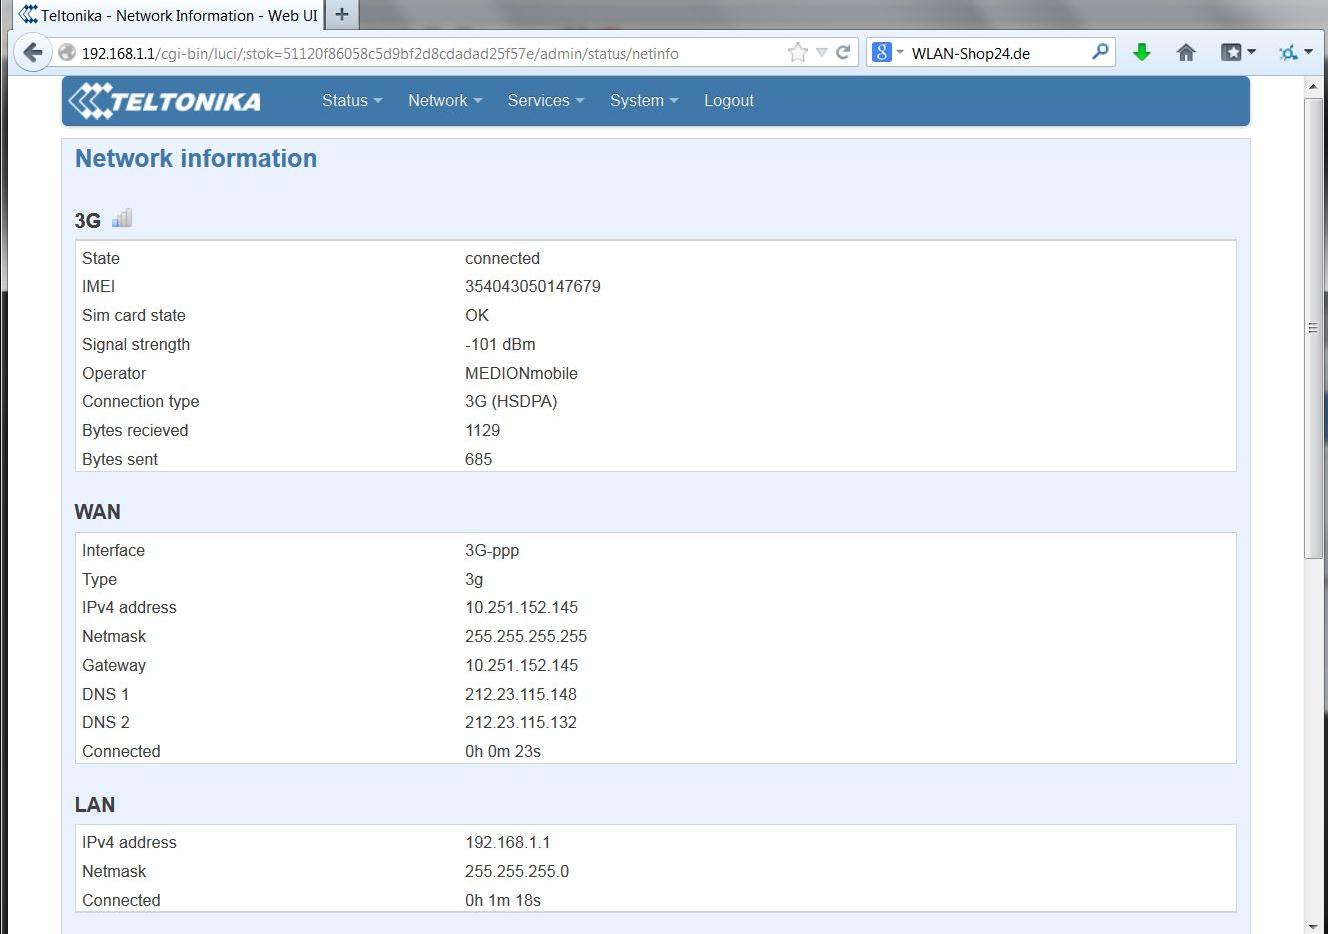
Under Status / Network Information, you can check your signal strength (dBm). Values closer to 0 (e.g., -80dBm) are very good.
FAQ: Teltonika RUT500
Where can I find the APN settings?
You can get the APN directly from your mobile provider’s documentation or by searching online.